Time to read: 21 min
What Is a Chamfer and When Does Your Part Need One?
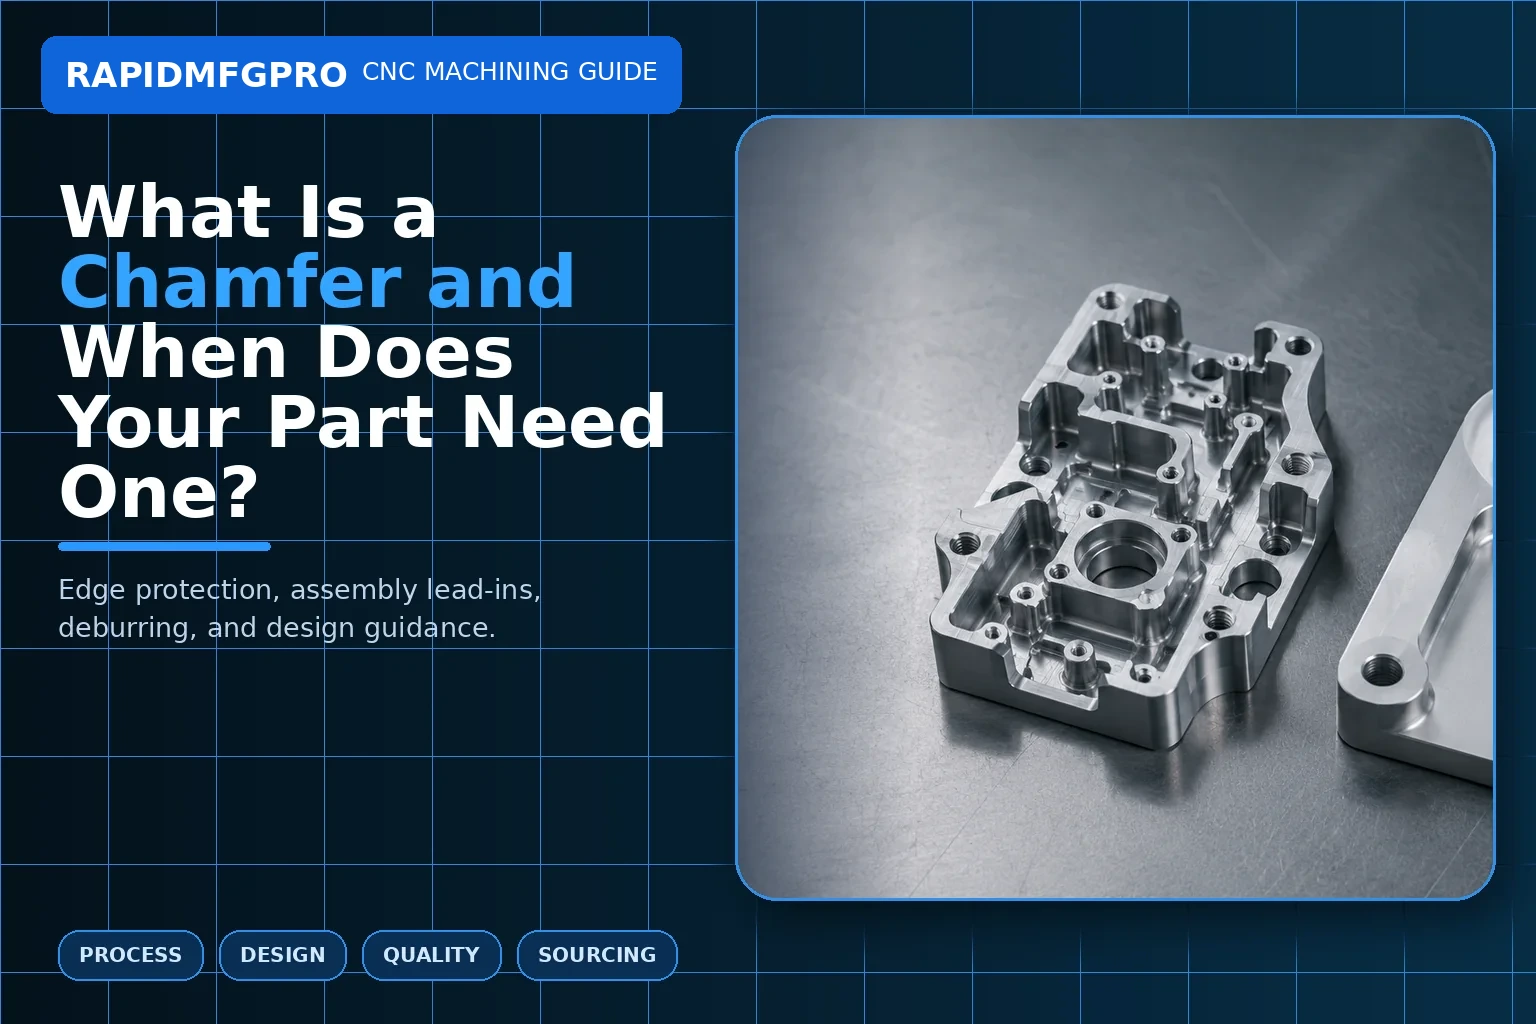
Direct answer: A chamfer is a straight, angled surface that replaces a sharp edge, most commonly at 45 degrees. A part needs a chamfer when an edge must guide assembly, protect a seal, provide thread entry, remove a burr-prone corner, create weld preparation, improve handling, or meet a defined appearance. Do not add chamfers to every edge automatically: size and location should follow function because an oversized chamfer can reduce bearing area, weaken a thin wall, expose coating, or change the way two parts seat.
Chamfers appear simple, yet ambiguous edge notes are a common source of disagreement between designers and CNC suppliers. “Break all edges” is not the same as a dimensioned chamfer. A deburred edge may be rounded or irregular, while a functional chamfer requires controlled width, angle, and relationship to adjacent surfaces. This guide explains when to use chamfers and how RapidMfgPro helps buyers identify independent suppliers capable of machining and inspecting the required edge condition.
What Is a Chamfer?
A chamfer is a controlled beveled edge
A chamfer removes the intersection of two surfaces and replaces it with a flat angled face. On a 90-degree corner, a 45-degree chamfer creates equal setbacks on both adjoining surfaces. Chamfers can also use other angles, such as 30, 60, or 82 degrees, depending on assembly, cutting-tool, fastener, or weld requirements.
Chamfers may be external, internal, circular, linear, or around a hole. Common examples include the lead-in on a shaft, the mouth of a bore, the edge of a plate, the entry of a thread, and the seat for a flat-head screw. A countersink is a conical chamfer around a hole, but it is usually specified by included angle and diameter because it has a specific fastener function.
The chamfer size may be defined by two linear dimensions, one linear size plus angle, or a standard note. The drawing method must be unambiguous and measurable.
A chamfer is not the same as a radius or general deburr
A radius replaces the corner with a curved surface. It distributes stress differently and may be produced by a radiused cutter, formed tool, turning insert, or blending operation. A chamfer creates a planar surface and usually provides a clearer assembly lead-in.
Deburring removes sharp projections left by cutting. It may produce a very small irregular edge break. If function depends on a specific geometry, do not rely on “deburr” alone. Use a dimensioned chamfer or radius.
| Edge treatment | Geometry | Primary purpose | Typical specification |
|---|---|---|---|
| Chamfer | Flat angled face | Assembly lead-in, edge protection, thread entry | 0.5 × 45° or equivalent |
| Radius/fillet | Curved face | Stress reduction, flow, appearance | R0.5, R2, or profile control |
| Deburr/edge break | Small noncritical removal | Safe handling and burr removal | Break edges 0.1-0.3 mm |
| Countersink | Conical recess around hole | Seat flat-head fastener or tool entry | Ø10 × 90° included angle |
| Spotface | Shallow flat seat | Create bearing surface | Diameter and depth |
What Types of Chamfers Are Used on CNC Parts?
External and internal edge chamfers
External chamfers remove exposed corners on plates, brackets, housings, and shafts. They improve handling and can protect edges from damage. Internal chamfers are applied at the mouth of a bore, pocket, or internal corner where tool access permits.
Internal chamfers often guide shafts, pins, O-rings, bearings, or connectors into position. Their depth must be coordinated with the mating component. A chamfer that is too large may reduce the cylindrical engagement length or allow a seal to extrude.
Hole, thread, and rotational chamfers
Hole-edge chamfers remove burrs and provide a lead-in. Thread chamfers help the first thread start cleanly and protect the crest. On turned parts, chamfers are common at diameter transitions, shaft ends, and bore entries.
Not every hole should receive the same chamfer. A dowel hole may need a small lead-in without reducing the locating length. A fluid orifice may require a sharp or controlled inlet for flow. An optical aperture may need blackened edge geometry rather than a general bright chamfer.
When Do Parts Need Chamfers for Assembly?
Lead-in chamfers reduce alignment force
During assembly, perfectly aligning two parts is difficult. A chamfer creates a funnel-like lead-in that converts small lateral misalignment into centering motion. Shafts entering bores, pins entering holes, and connectors entering housings benefit from this feature.
The required chamfer depends on clearance, insertion angle, edge hardness, and assembly method. Manual assembly may tolerate a small lead-in. Automated assembly may need a larger and more consistent chamfer because robots have limited compliance.
Chamfers can also reduce the risk of shaving material from plastic seals, bushings, or soft mating parts. However, the chamfer should transition smoothly to the final diameter without a burr.
Thread and fastener entry needs controlled edge preparation
External threads usually include a lead chamfer so a nut starts without catching a sharp crest. Internal threads often have a chamfer larger than the major diameter to remove the incomplete first thread and guide the fastener.
A countersink for a flat-head screw is more critical than a simple lead chamfer. The included angle should match the fastener standard. If the angle or depth is wrong, the head contacts at a line rather than a full seat, which can affect flushness and load distribution.
| Assembly interface | Chamfer function | Design concern | Possible failure if wrong |
|---|---|---|---|
| Shaft into bearing/bore | Center and protect edge | Do not reduce bearing length excessively | Galling, shaved edge, difficult insertion |
| Dowel pin into locating hole | Guide alignment | Keep precise cylindrical locating length | Loose location or damaged pin |
| O-ring over shaft edge | Prevent seal cutting | Smooth transition and suitable angle | Torn seal and leakage |
| Nut onto external thread | Start thread cleanly | Remove incomplete crest without shortening engagement | Cross-threading |
| Flat-head screw | Seat head flush | Match included angle and depth | Rocking, protrusion, local stress |
| Automated insertion | Compensate for positional variation | Coordinate with robot accuracy and clearance | Frequent jams or cycle stops |
When Do Chamfers Protect Edges or Improve Safety?
Exposed edges can cut people or damage nearby parts
Machined edges can be sharp even when no visible burr remains. A controlled edge break reduces handling risk and prevents a sharp corner from scratching cables, seals, packaging, or adjacent components. Handheld products and frequently serviced machinery may need larger, smoother edge treatments.
Safety requirements should distinguish touchable edges from enclosed edges. Applying large cosmetic chamfers to every internal edge adds cycle time and may reduce strength. Use a general edge-break note for noncritical edges and dimension only the functional or visible chamfers.
Chamfers reduce edge damage during handling and finishing
Sharp external corners are vulnerable to dents. A small chamfer removes the fragile knife edge and improves coating coverage. Powder coating and paint can pull away from sharp corners, while a modest edge break helps film continuity.
Plating and anodizing also behave differently at edges. However, a chamfer is not a substitute for a properly specified surface-treatment process. Coating thickness and corrosion performance should still be controlled.
When Should You Use a Radius Instead of a Chamfer?
Use radii where stress concentration is the main concern
A radius generally produces a smoother stress flow than a flat chamfer at an internal load path. Structural shoulders, crank-like transitions, robot links, and fatigue-loaded brackets often use fillets rather than chamfers. The required radius should come from analysis, design standards, or experience.
Turning a shoulder radius may require a suitable insert or form tool. Milling an internal fillet is natural because the cutter is round. A large radius often improves tool life and cycle time compared with a very small corner radius.
Use chamfers where clearance or lead-in is the main concern
Chamfers are easier to inspect and provide a direct entry angle. They are suitable for assembly lead-ins, thread starts, edge protection, and countersinks. A radius may interfere with a mating square shoulder unless the mating part also has relief.
Some parts need both: a structural radius at the loaded root and a small chamfer at the exposed edge. Do not treat the two features as interchangeable without checking function.
| Design objective | Chamfer | Radius | Preferred choice |
|---|---|---|---|
| Guide insertion | Creates clear lead angle | Can guide but less defined | Usually chamfer |
| Reduce fatigue stress | Limited improvement | Smooth stress transition | Usually radius |
| Remove sharp handling edge | Easy and measurable | Smoother feel | Depends on size and appearance |
| Provide flat-head screw seat | Matches conical fastener | Does not seat correctly | Countersink/chamfer |
| Match square mating shoulder | May provide relief | May interfere unless mating part relieved | Chamfer or undercut |
| Cosmetic soft edge | Faceted appearance | Rounded appearance | Product design choice |
How Should Chamfers Be Specified on a Drawing?
Use dimensions that define both size and angle
A typical callout is “0.5 × 45°.” This means the chamfer has a 0.5 mm linear setback at 45 degrees. For non-45-degree chamfers, state the relevant length and angle clearly. A two-distance callout may be used when the angle is derived.
For circular hole chamfers, use the resulting major diameter and included angle if that is easiest to measure. Countersinks should follow the fastener standard. If flushness is the real requirement, specify the allowed head position or installed condition.
General notes such as “break all sharp edges 0.2-0.5” are useful for noncritical edges. They should not override individually dimensioned chamfers.
Define edge exceptions and finish condition
Some edges must remain sharp for scraping, metering, sealing, or optical purposes. Mark them as exceptions. Other edges may need rounding rather than chamfering. A blanket note can destroy function if exceptions are not identified.
State whether the chamfer dimension applies before or after coating. Masking or finish buildup may matter for a close assembly. If appearance is critical, identify the direction of machining marks and acceptable dents.
How Are Chamfers Machined?
Milling machines use chamfer tools and contour paths
A chamfer mill has angled cutting edges and follows the part boundary or hole edge. Tool height controls chamfer size. A countersink tool creates conical seats. Ball and corner-round tools create radii rather than true chamfers.
For complex 3D edges, five-axis motion can keep the tool orientation consistent. Manual deburring tools may be acceptable for general edge breaks but are less repeatable for dimensioned chamfers.
Turning machines create chamfers with tool-path geometry
On a lathe, the turning insert moves diagonally across a corner. Programmed X and Z movement creates the angle. Form tools can create repeated chamfers or lead shapes. Internal bore chamfers need sufficient tool access.
Tool nose radius affects the exact corner transition. At small chamfer sizes, burrs and insert geometry can influence measurement. The process should be verified on the first article.
How Are Chamfers Toleranced and Inspected?
Inspection method depends on function and size
Large external chamfers can be checked with calipers, height measurement, optical comparators, CMMs, or dedicated gauges. Countersink diameter can be measured at the surface, but this result depends on angle. Flushness gauges or mating fasteners may be more functional.
Small edge breaks are difficult to measure precisely. If a broad range is acceptable, a visual or tactile standard may be enough. Do not assign a very tight tolerance to a tiny noncritical chamfer unless the inspection method is defined.
Geometric relationships may matter more than size
A shaft lead chamfer should be concentric with the diameter. A countersink should be centered on the hole. An angled sealing chamfer may require runout or profile control. A correct nominal size with poor alignment can still damage the mating part.
For high-volume assembly, functional gauges can test entry and seating. The gauge should represent the worst-case mating condition.
| Chamfer type | Useful inspection | Critical characteristic | Typical mistake |
|---|---|---|---|
| General external chamfer | Caliper, comparator, visual standard | Setback and continuity | Measuring only one location on an irregular edge |
| Bore lead-in | Optical/CMM/functional pin | Concentric transition and no burr | Large chamfer reduces fit length |
| Thread lead chamfer | Comparator and thread gauge | Clean first thread and engagement | Incomplete thread remains |
| Countersink | Countersink gauge, diameter, mating fastener | Included angle and head position | Wrong fastener angle |
| Seal-entry chamfer | Profile/CMM and visual finish | Angle, smoothness, edge condition | Tool marks cut the seal |
What Chamfer Defects Increase Cost or Cause Failure?
Oversize, uneven, or incomplete chamfers
An oversized chamfer can reduce wall thickness, bearing area, thread engagement, or sealing length. An uneven chamfer may indicate runout, incorrect tool height, worn tools, or manual inconsistency. An incomplete chamfer leaves sharp sections and burrs.
Tool chatter can create a faceted or rough surface. On cross holes, the chamfer may become elliptical and difficult to control. The drawing should account for the actual geometry rather than assume a circular edge on an angled intersection.
Unclear notes create unnecessary processing
“Chamfer all edges” can force the supplier to handle many inaccessible or nonfunctional edges. Manual edge finishing adds labor and variability. Conversely, “deburr” may not create the required assembly lead-in.
Use specific chamfers where function depends on them and a realistic general edge-break note elsewhere. This reduces both cost and disagreement.
How Can RapidMfgPro Help Source Parts with Controlled Chamfers?
Provide functional context and measurable callouts
Submit the CAD model and drawing showing chamfer size, angle, tolerance, edge exceptions, finish condition, and related datums. Explain whether the chamfer guides a bearing, protects a seal, seats a screw, supports automated assembly, or serves only appearance.
State quantity, material, coating, inspection, and visual requirements. If a reference sample defines the cosmetic edge, provide images or the approved sample process.
Match the part to a suitable machining and inspection process
RapidMfgPro can identify independent suppliers with appropriate milling, turning, 5-axis, deburring, coating, and metrology capability. A simple plate edge break does not need the same supplier as a precision optical or seal-entry chamfer.
The buyer should approve the selected supplier’s process, inspection, finish, and commercial terms. RapidMfgPro supports the requirement review and supplier comparison while keeping third-party manufacturing responsibility transparent.
How Are Chamfers Used in Different Industries?
Automotive, robotics, and industrial equipment
Automotive shafts use lead chamfers to protect seals and bearings during assembly. Brake and suspension brackets use edge breaks for handling and coating coverage. Robot joint components use chamfers to guide bearing rings, dowel pins, and cable connectors. Industrial replacement parts often need chamfers because worn mating components and manual assembly make alignment less predictable.
For automated assembly, chamfer size should be coordinated with robot positional accuracy and part clearance. A larger lead-in can improve insertion, but it must not reduce the final locating length. Functional testing should confirm the balance.
Medical, aerospace, and optical components
Medical equipment parts need smooth edges to protect gloves, tubing, and seals. Aerospace fittings may use chamfers for fastener entry and edge durability, but structural transitions often require radii instead. Optical mounts use blackened chamfers around apertures to reduce stray reflections while protecting lens edges.
These industries may also impose documentation, cleanliness, or cosmetic controls. The same 0.5 × 45° geometry can have different acceptance criteria depending on whether it touches a seal, aligns an optical element, or only removes a sharp edge.
What Is a Practical Chamfer DFM Checklist?
Check function, geometry, and inspection
- Identify why each dimensioned chamfer exists.
- Confirm size, angle, tolerance, datum, and coating condition.
- Distinguish functional chamfers from general edge breaks.
- Mark edges that must remain sharp or use a radius.
- Check remaining wall, thread engagement, and bearing length.
- Define how countersinks and seal-entry chamfers will be inspected.
Review mating-part interference in the CAD assembly. A chamfer that looks small in isolation may remove the shoulder needed by the mating component.
Check process access and consistency
Confirm that a standard chamfer tool can reach the edge without holder collision. Deep internal edges, cross holes, and interrupted contours may need special tools or manual deburring. If the feature is critical, avoid a process that depends entirely on hand finishing.
For recurring production, ask how tool wear and edge size are monitored. Small chamfers can drift as tools wear or are reset. A visual master or dedicated gauge may be more effective than repeated CMM measurement for some high-volume parts.
How Should Chamfer Tolerance Change with Feature Size and Function?
Small general edge breaks need practical ranges
A 0.2 mm noncritical edge break may be difficult to measure with a narrow bilateral tolerance. A range such as 0.1-0.3 mm, combined with “no sharp edges or burrs,” is often more practical. The supplier can use controlled deburring without adding unnecessary optical or CMM inspection.
For very small parts, even a 0.2 mm chamfer can remove a large percentage of wall thickness. Scale the edge treatment to the component and identify exceptions.
Functional chamfers need tighter geometric definition
A seal-entry chamfer, countersink, bearing lead-in, or automated-assembly feature may need controlled angle, major diameter, surface finish, and concentricity. The tolerance should be derived from mating-part clearance and available inspection.
Do not tighten both linear size and angle beyond what function requires. A profile control or functional gauge may communicate the requirement more efficiently. RapidMfgPro can help route such parts to suppliers with suitable optical, CMM, or gauge inspection.
Chamfer size should also consider inspection resolution and manufacturing repeatability. A very small chamfer on a rough casting or interrupted edge may not form uniformly. In that case, a functional requirement such as “remove burr and permit pin entry” may be more robust than a tightly dimensioned bevel. Conversely, a precision countersink or seal lead-in should not be accepted by appearance alone.
When the chamfer is used for automated assembly, validate it with the real mating part or a functional gauge. CAD clearance alone may not capture burrs, coating, part tilt, or robot compliance.
Document the accepted sample when appearance or insertion feel is difficult to describe numerically.
Keep that sample with the drawing revision and inspection instructions for repeat orders.
Conclusion
A chamfer is a controlled angled edge, not merely a general deburr. Use it for assembly lead-in, thread entry, seal protection, fastener seating, handling safety, or defined appearance. Select a radius instead when stress reduction or a smooth curved transition is more important. Clear size, angle, tolerance, exceptions, and finish requirements prevent oversize or inconsistent edges. RapidMfgPro can help buyers identify independent suppliers with suitable machining and inspection capability for functional chamfers.
Need Help Reviewing a Custom Part?
Share your CAD file and requirements to request supplier matching. Supplier capability and commercial terms must be verified before order placement.
Request Supplier Match